

AI Tools 101: Midjourney Guide to Create Stunning Visuals in Seconds
Learn how to use Midjourney’s website to create stunning AI visuals, from cinematic scenes to brand logos, without Discord or design skills. A step-by-step guide for creators, founders, and marketers.
Welcome to the World of Visual AI
You’ve seen the AI art and thought, “How is this done so easily?”. This guide, part of our "AI Tools 101" series, shows you how. With MidJourney, you can turn simple words into professional visuals without being a designer or spending hours tweaking.
By the end, you’ll know how to:
- Generate your first image
- Control style and layout
- Build a visual brand using references
- Use the same tools pros use for content, logos, and product design
Let’s get started.
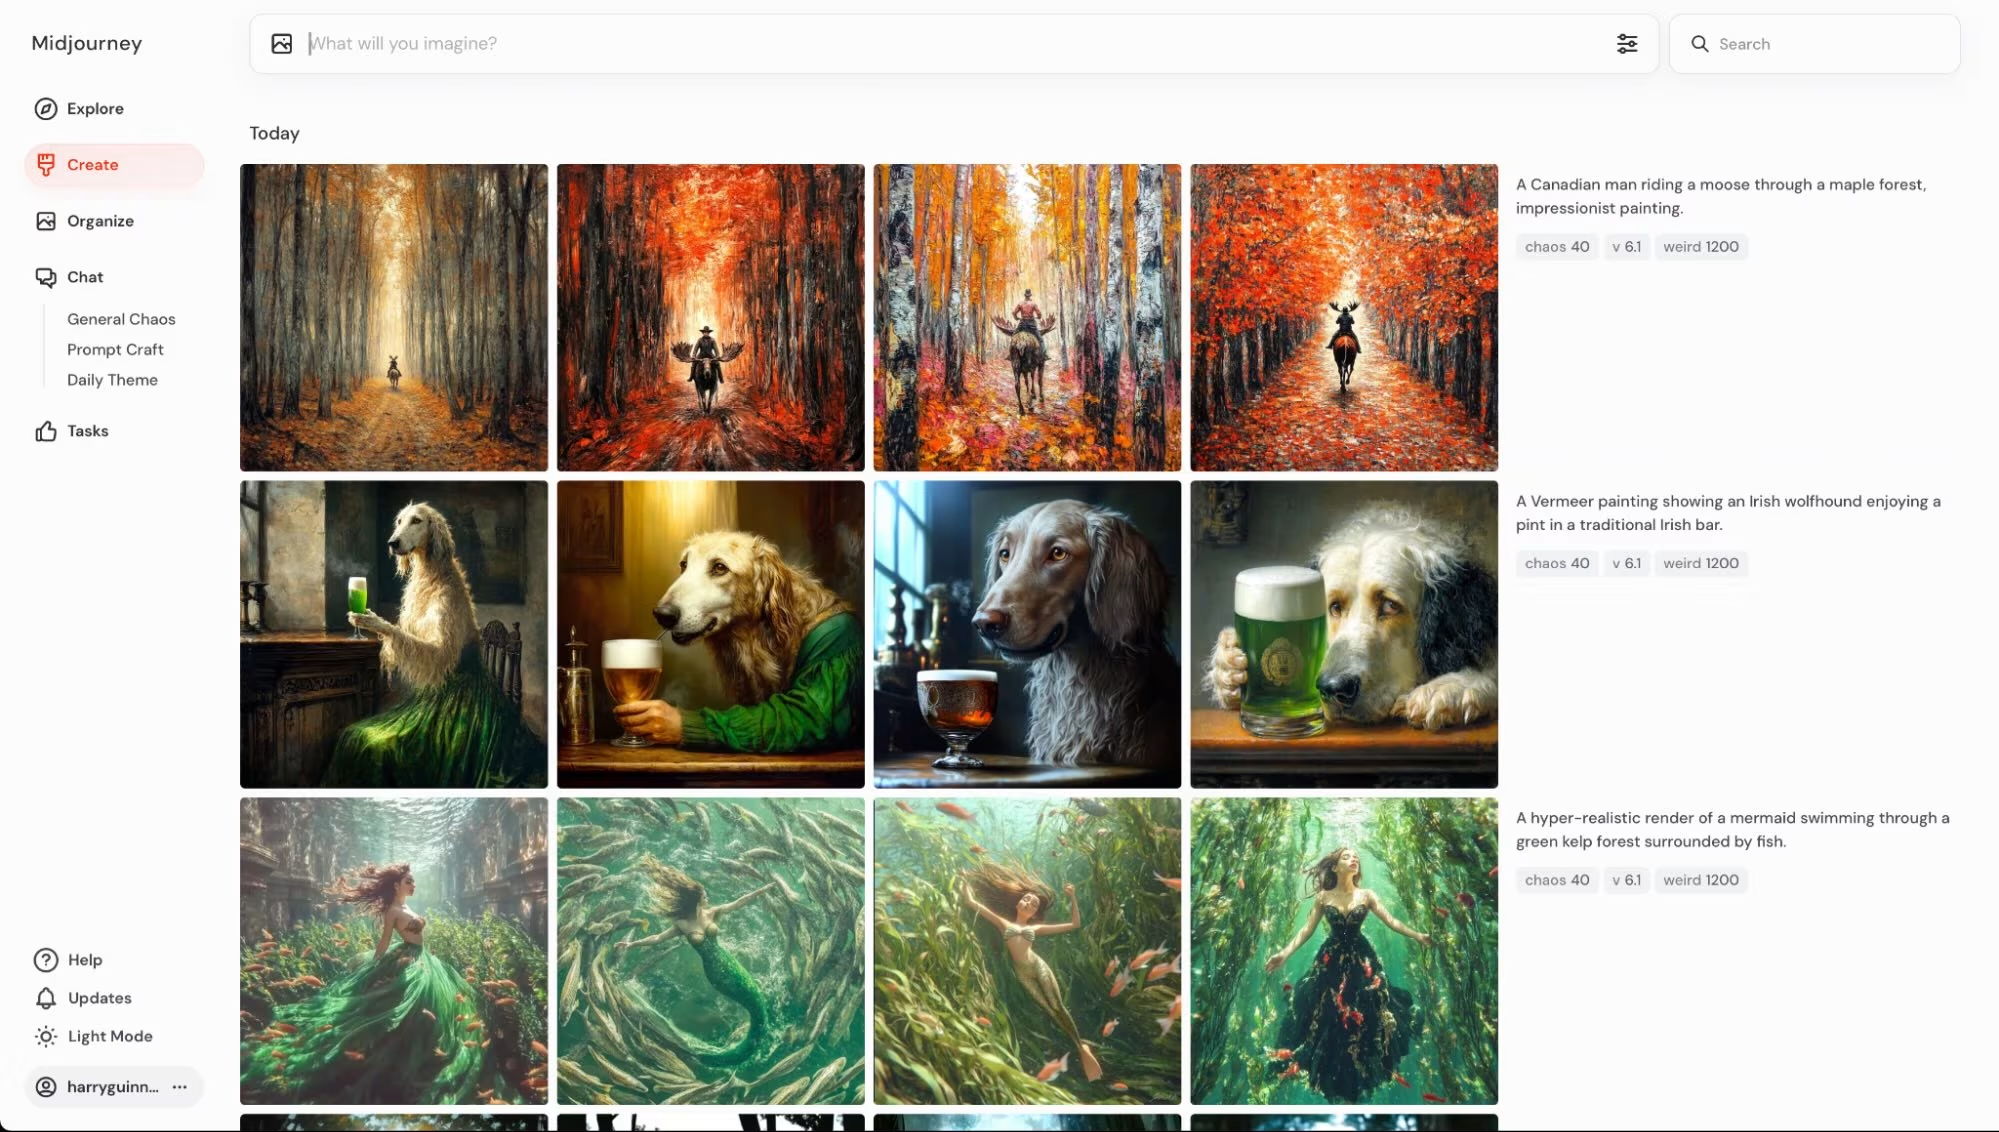
1. Generate Your First Image
To get started, go to MidJourney.com. Type a word or phrase into the prompt bar. Something as simple as "imagination" works. In just seconds, you'll see four images appear based on that single word. It’s that easy. If you want to tweak the prompt, hit the up arrow to bring it back into the bar and edit. You can also click the dropdown to explore visual parameters like aspect ratio, stylization, and more.
Once your image is generated, click into it to see the full prompt and settings used. You can upscale the image, create subtle or strong variations, or remix the concept entirely. Think of this moment as your creative sketchpad—MidJourney is listening closely to every word you type.
From here, the possibilities open up. You can explore previous images in the Archive tab, sort by themes, or organize your favorites into folders. But first, let's talk about how to control what comes out next, because that’s where MidJourney gets powerful.
2. Organizing Your Work
Likes & Folders
While browsing your generated images in the Archive or Explore tab, hover your cursor over any image to reveal the heart icon. Clicking it will mark the image as a favorite, making it easier to find later.
Creating folders is also straightforward. You can do it manually by selecting images or automatically through Smart Folders by typing a keyword like "logo," which instantly organizes all relevant images.
View Settings
You can switch between light and dark modes for personal comfort. Layout views can be adjusted to display full images, square thumbnails, or organized by date, depending on your preference.
3. Core Settings and Parameters
Before we dive in: Throughout this section, you'll see parameters listed in brackets like (--stylize) or shorthand versions like (--s). These are actual MidJourney commands that you can type into the prompt box to manually control how the AI interprets your input.
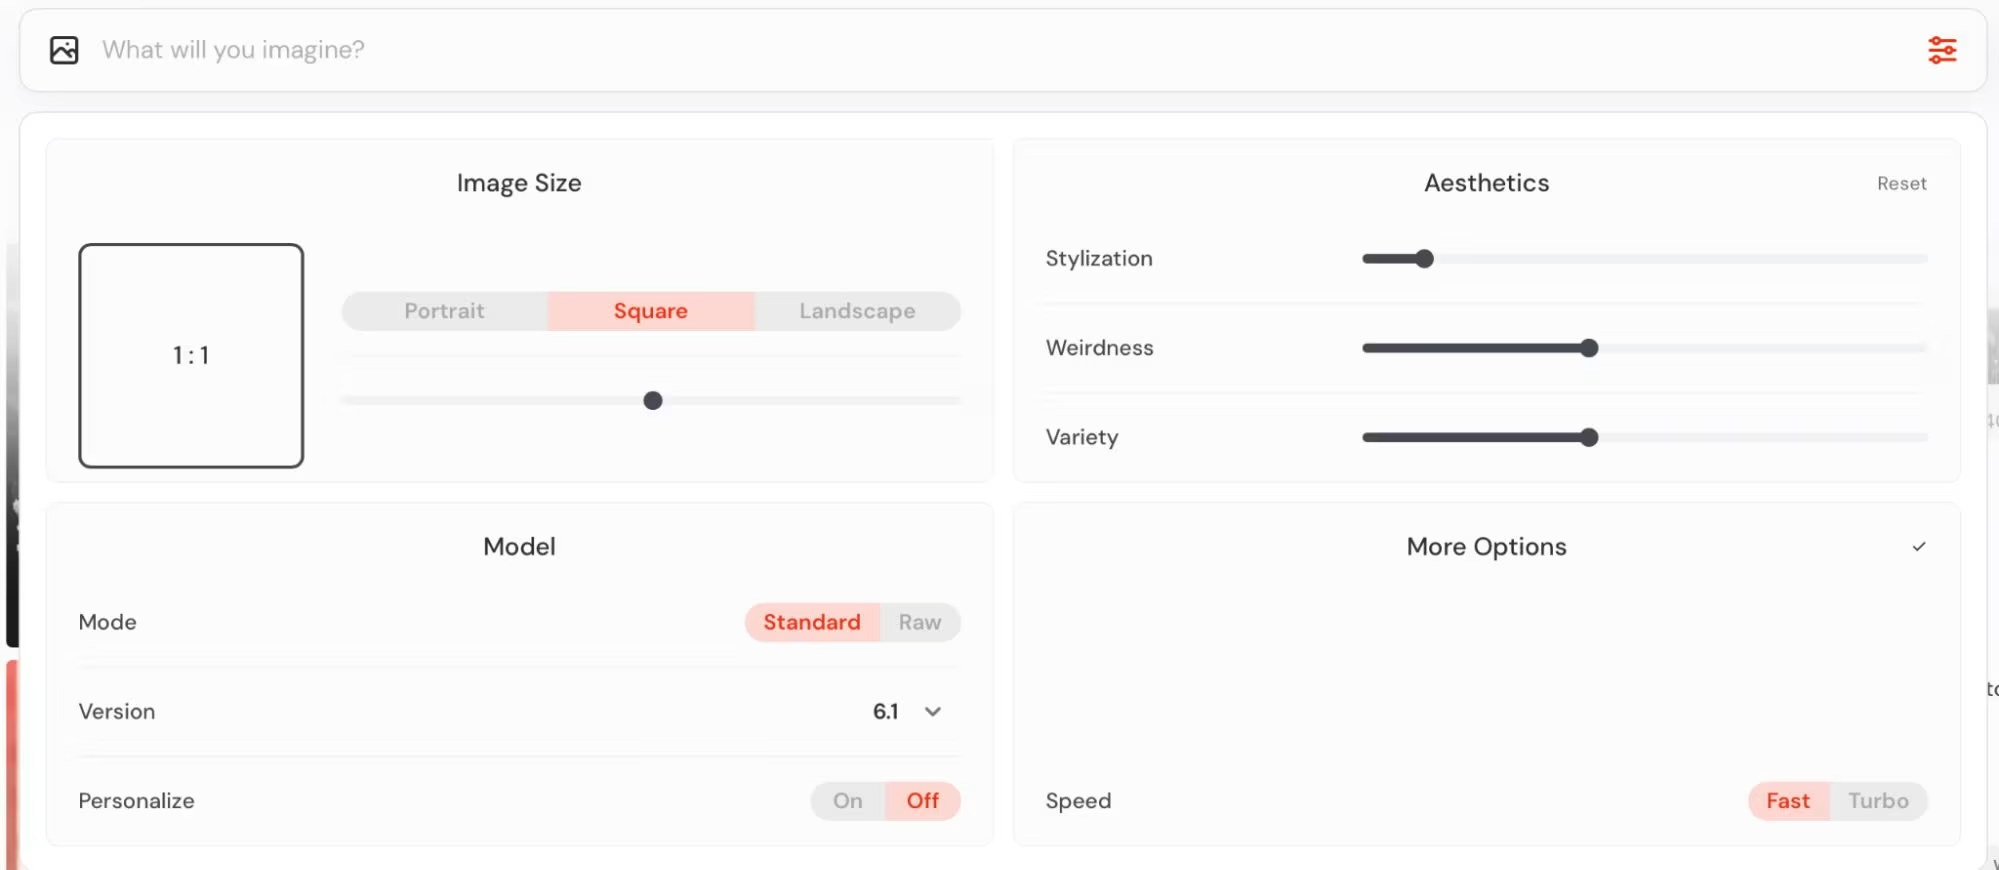
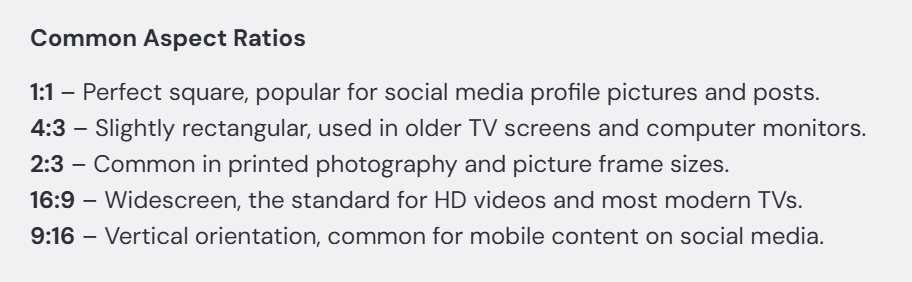
Image Size / Aspect Ratio
MidJourney offers options like square, portrait, or landscape formats, and you can manually enter custom aspect ratios for specific use cases like bookmarks or side-scrolling game backgrounds. Midjourney images start as squares, but you can change this using the aspect ratio parameter: --ar or --aspect
Stylization (--stylize / --s)
The stylization setting determines how artistic or literal your image looks. Lower values prioritize accuracy to the prompt, while higher values introduce MidJourney’s default aesthetics. Values can range from 0 to 1000.
Weirdness (--weird)
This parameter encourages unconventional and creative outputs. The higher the value, the more abstract or surreal your results will be.
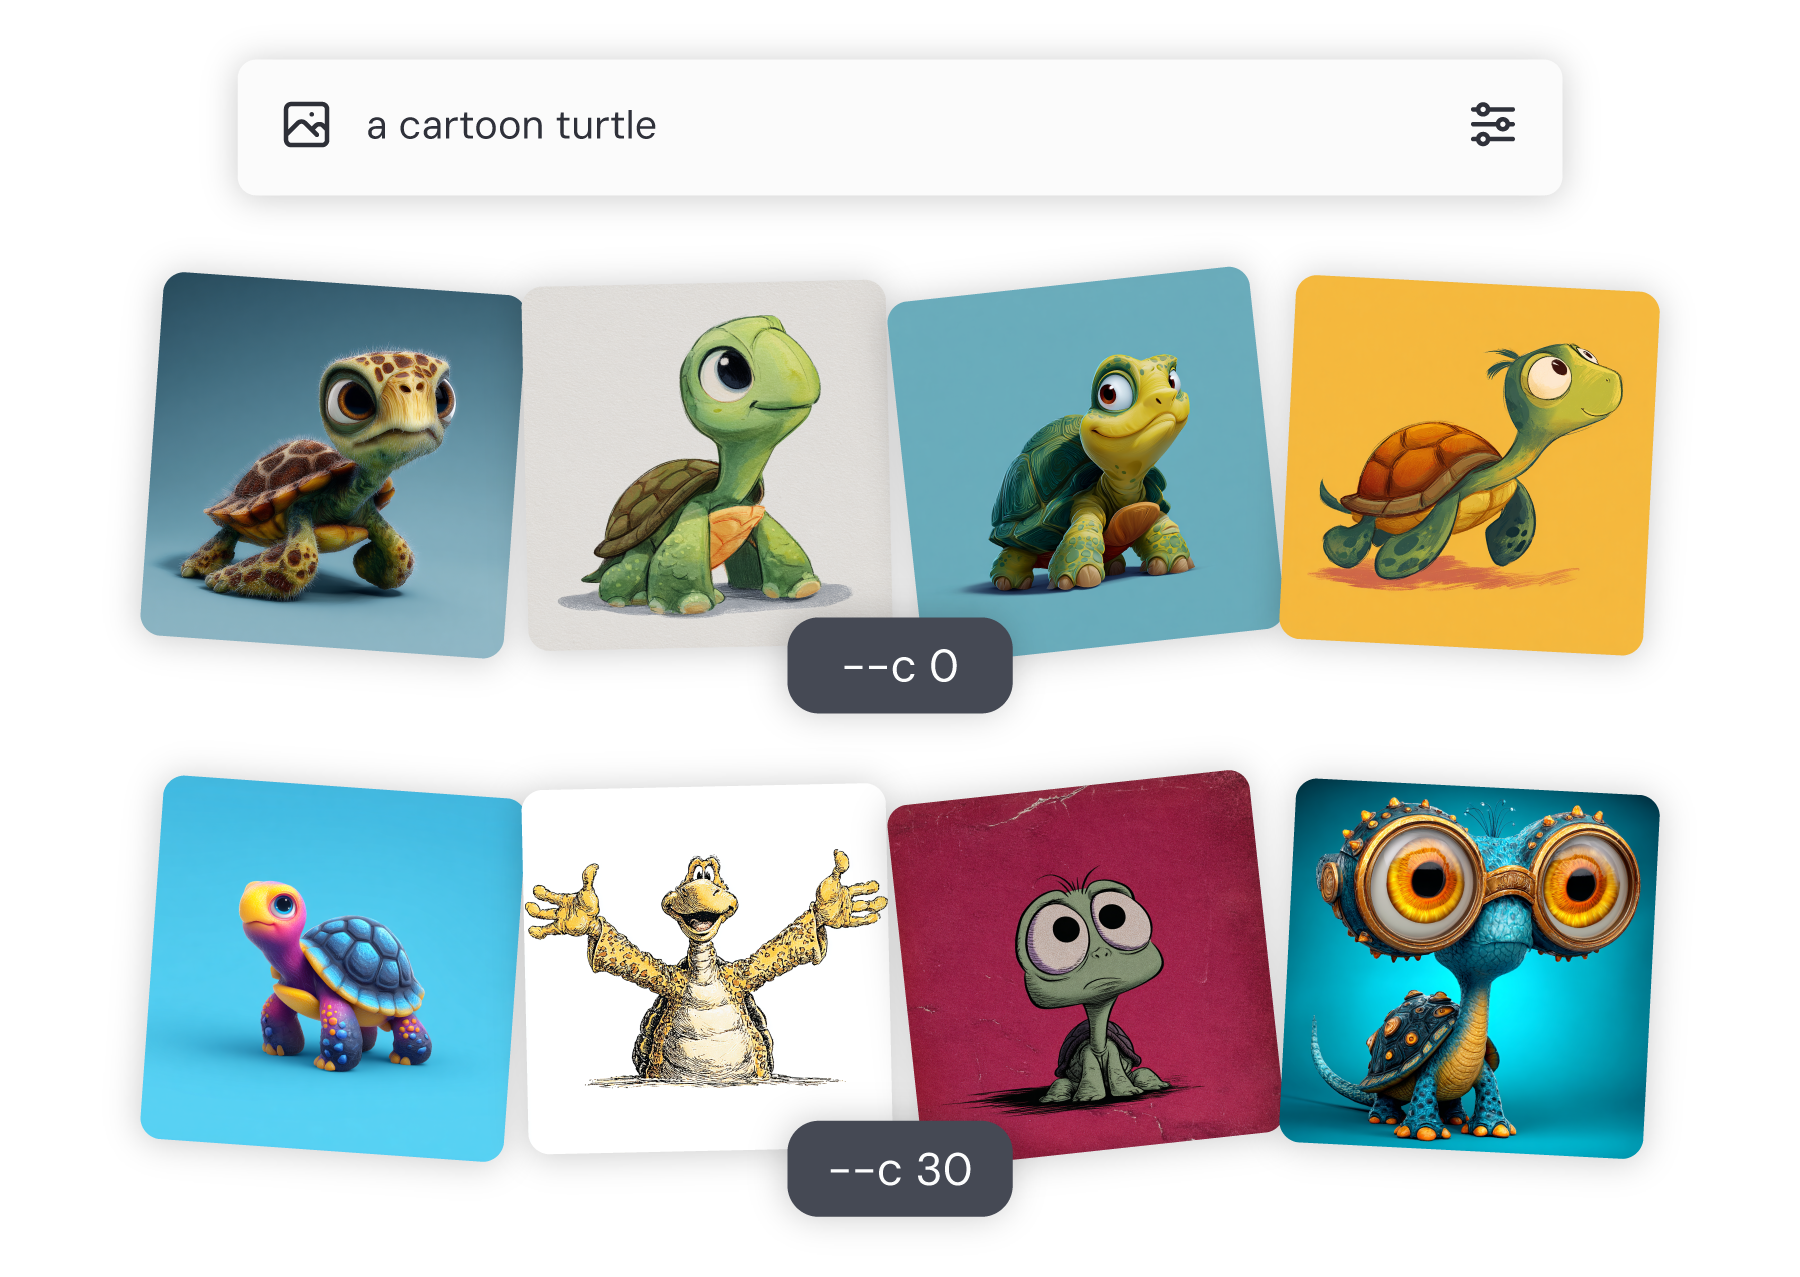
Chaos / Variety (--chaos)
Higher chaos values result in greater variation between output images. Lower chaos is best when refining concepts, while higher chaos supports broad exploration. By default chaos is set to 0, and Midjourney creates four images based on your prompt. If you want each image to look more different, increase the chaos value.
Mode: Standard vs Raw
The Standard mode enhances images using MidJourney's aesthetics, while Raw mode offers more literal interpretations of prompts, making it ideal for photorealistic styles.
Version Selection
Version 6 is currently the default and most advanced option, but you can also switch to older versions like 5.2 or Niji for specialized styles such as anime.
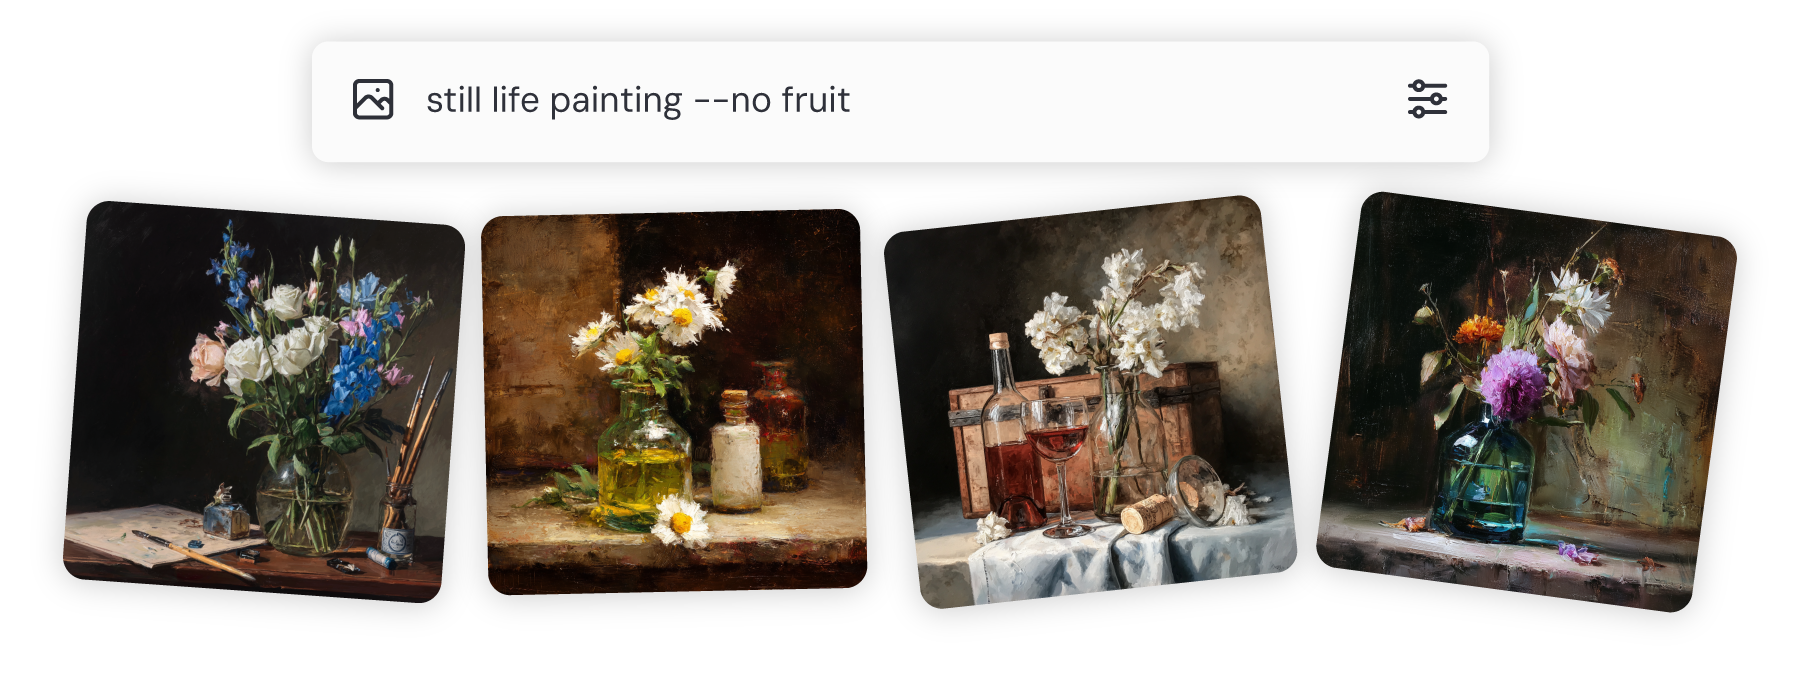
"No" Parameter (--no)
To exclude elements from your image, simply add --no followed by the item, like --no fruit.
Seeds (--seed)
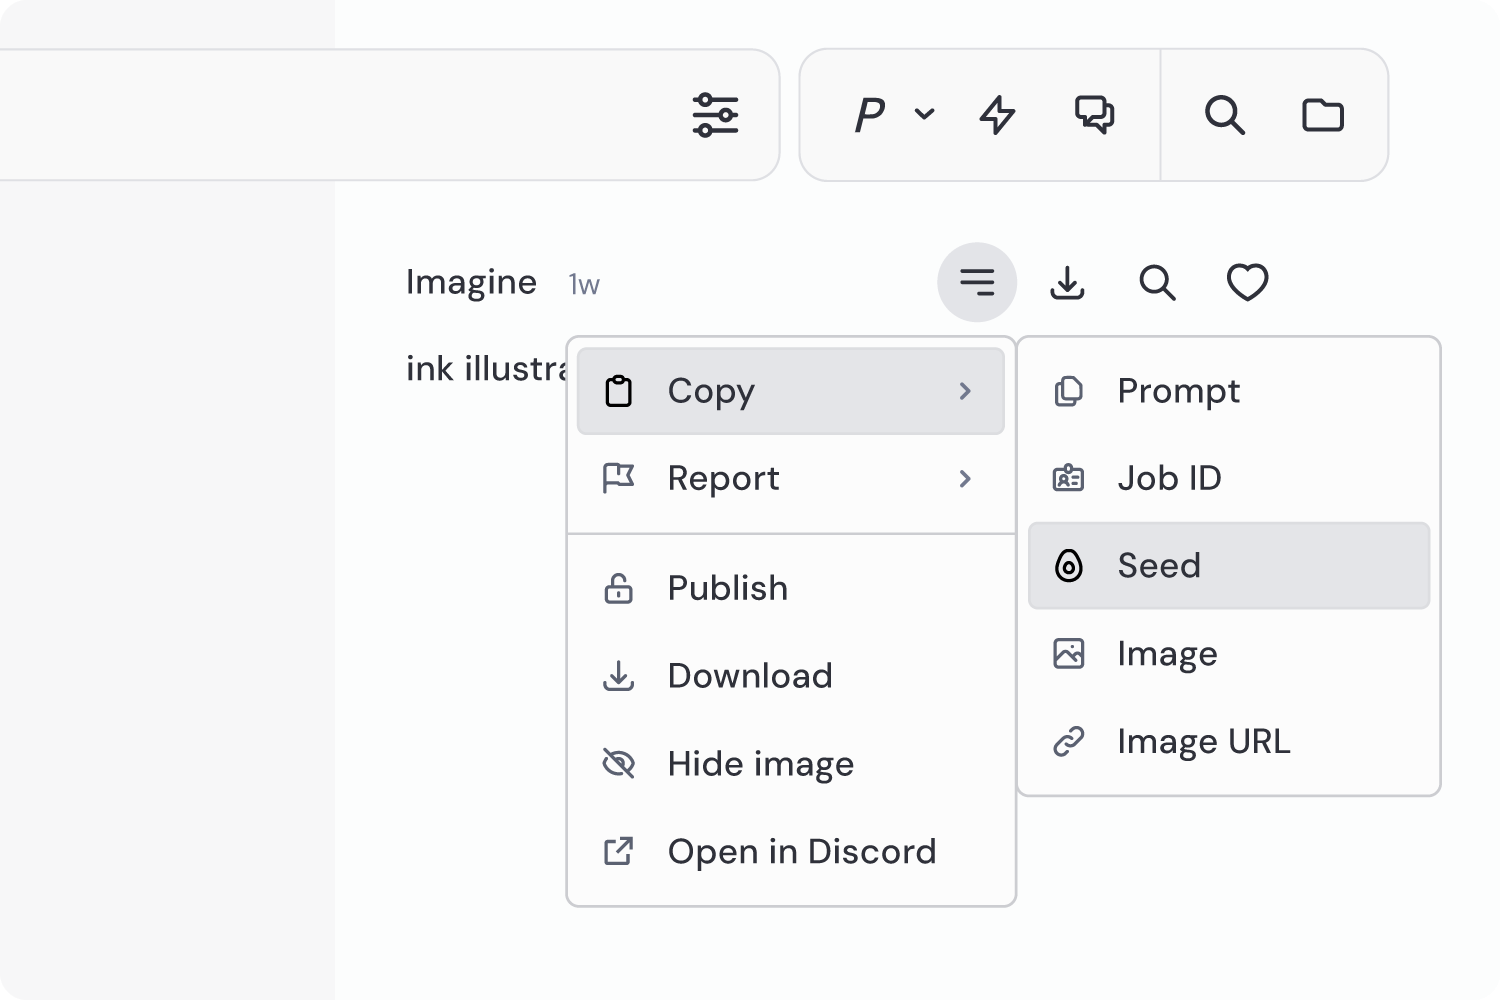
Seeds control the randomness of your image generation. Reusing the same seed with a prompt helps replicate image composition across different runs. Seeds help you reproduce a similar composition with a new prompt and maintain layout consistency across variations. To find the seed, click any image, open options, and hit “Copy → Seed” to grab the seed number.
Permutations
You can test multiple variations of a prompt by using curly brackets, which runs each color version automatically. For example, if you prompt a {red, green, yellow} bird, Midjourney will swap out "red," "green," and "yellow" in separate prompts to give you three different prompts:
A red birdA green birdA yellow bird
4. Prompting 101
Prompt Structure
A helpful approach is to use the "4 S" method: Scene (general setup), Subject (main character or object), Setting (environment or context), and Style (visual or cinematic reference). Short, clear prompts work best in MidJourney. Describe what you want in a quick, visual phrase. Avoid long lists or overly detailed instructions. They tend to confuse the model.

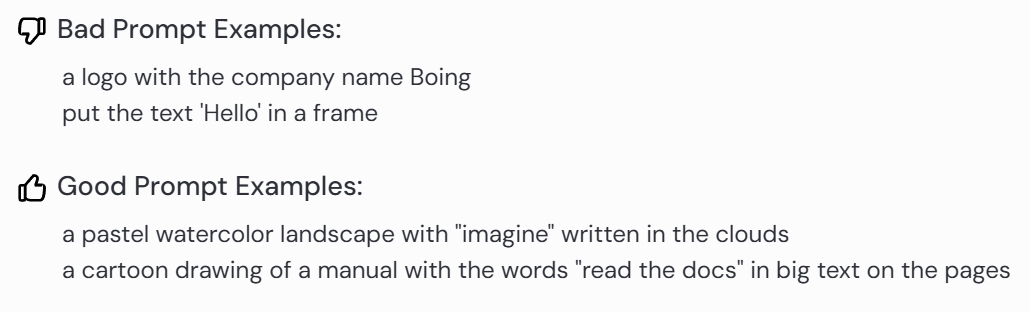
Examples
A cinematic prompt might involve an owl in an ancient temple, while a photo prompt could describe three friends at a cafe. Using callbacks like "the friend on the left" helps maintain character continuity across complex prompts.
Power Tokens
Power tokens are descriptive phrases that significantly shape the image output. Examples include "35mm film" or "Marvel Loki lighting". They provide greater specificity and control over style.
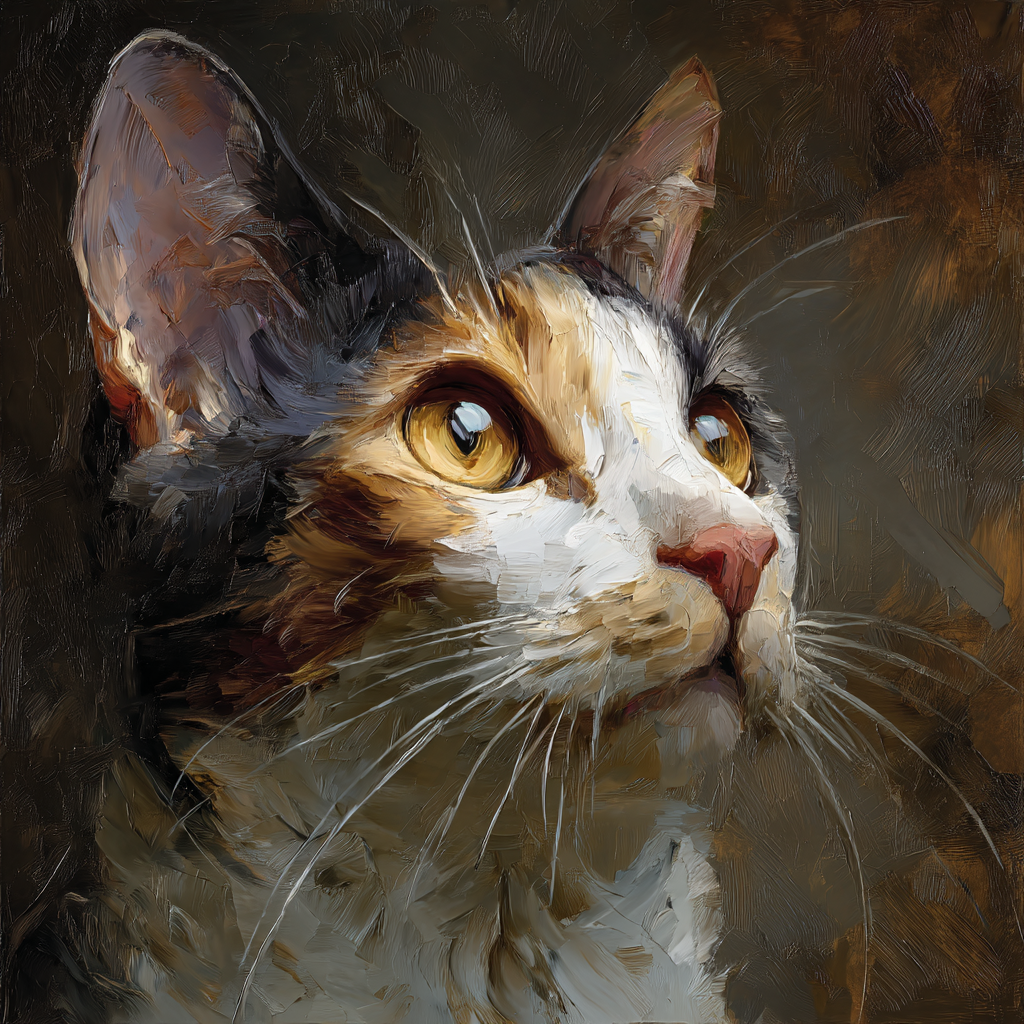
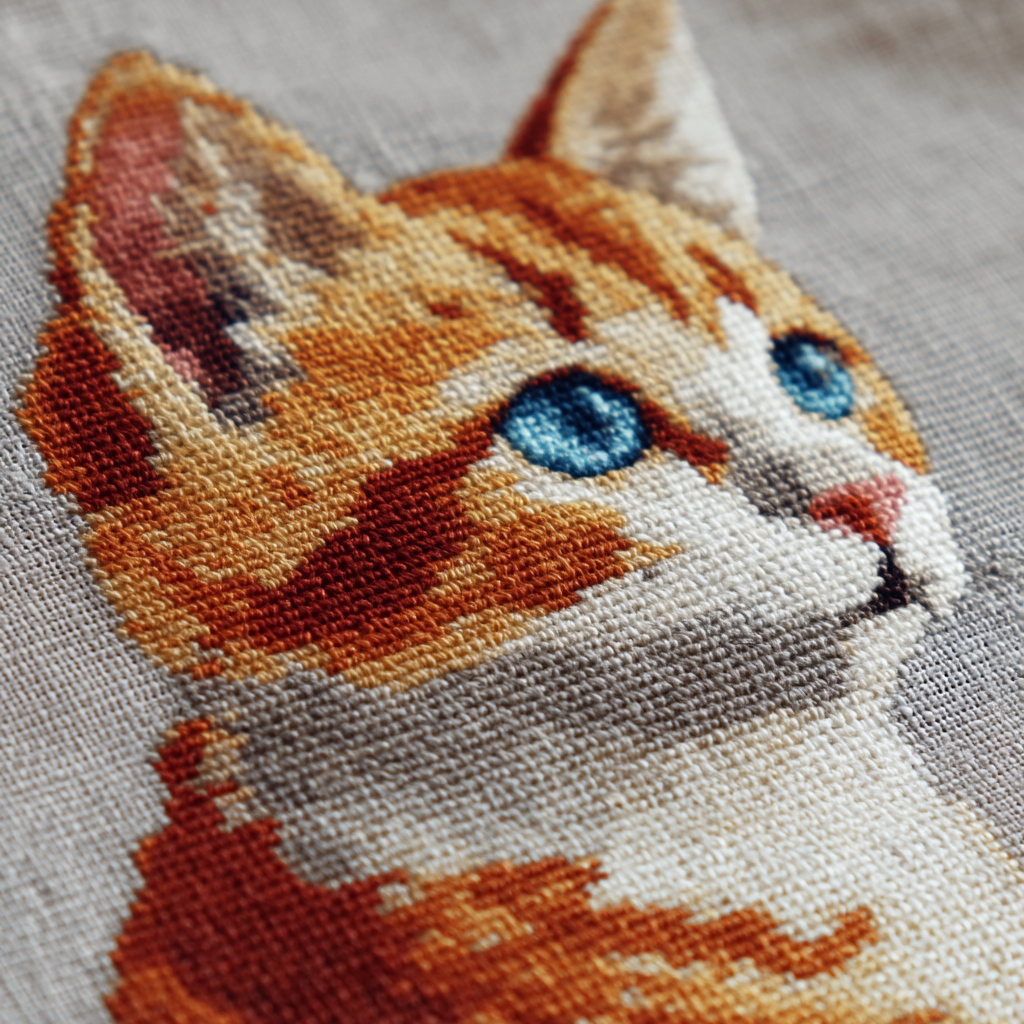
Describe Feature
If you're unsure how to describe a style, upload an image and click the "i" icon. MidJourney will generate descriptive text you can use or modify in your prompt.
______ style cat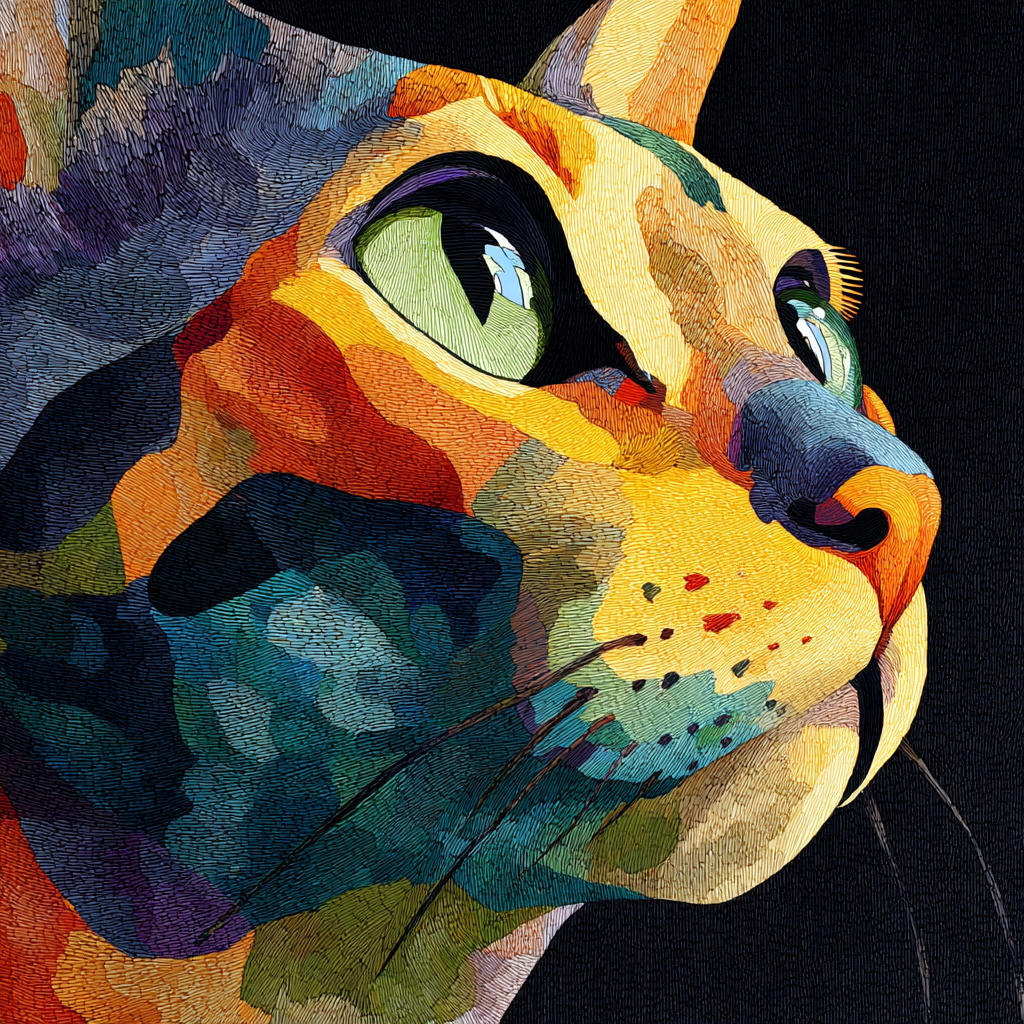
5. Logos and Vector Art
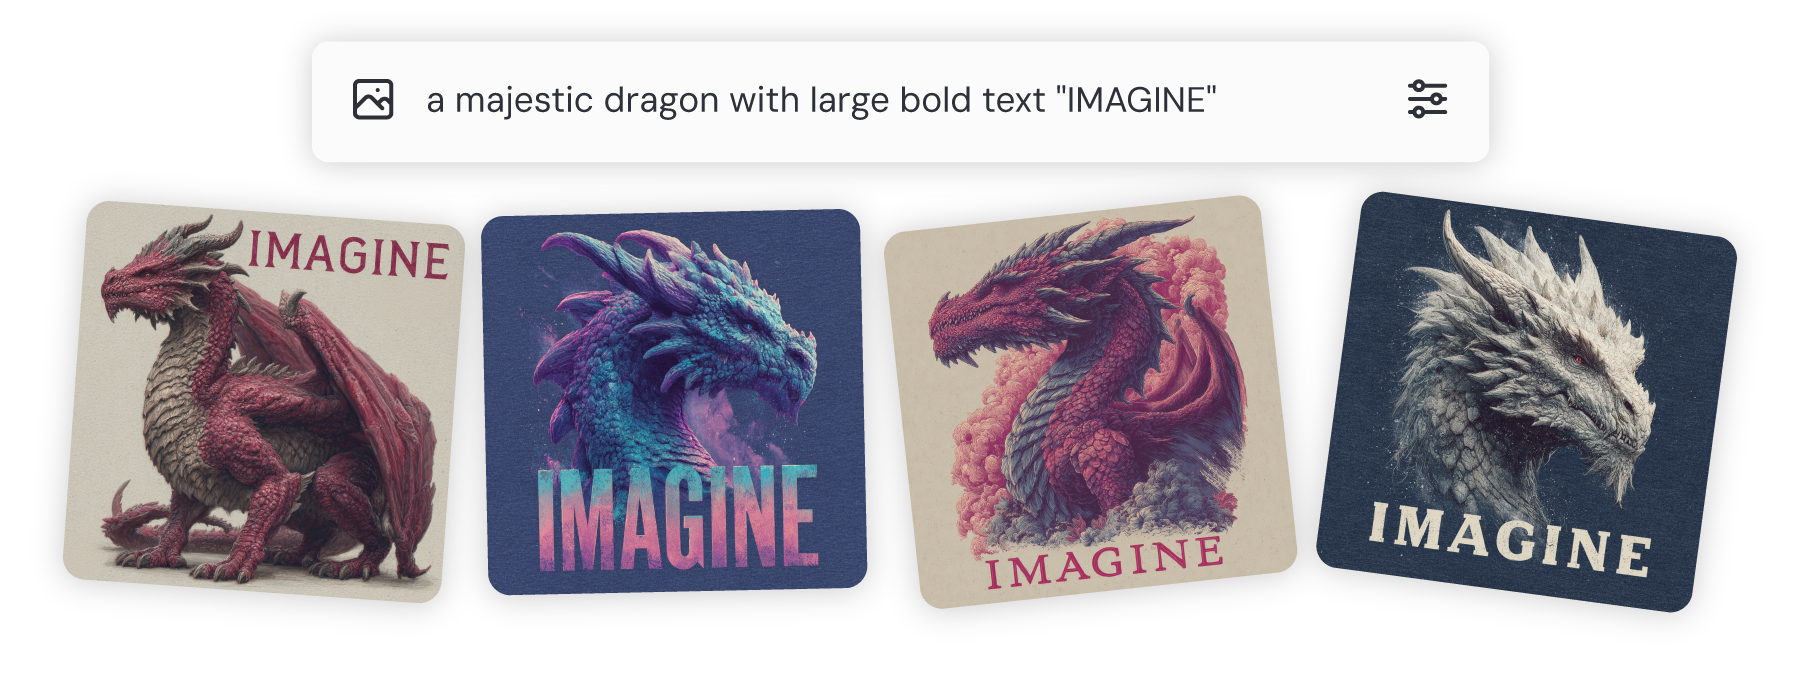
If you’re designing for branding, print, or merch, MidJourney makes it surprisingly easy to generate logos and vector-style art. For logos, stick to a square aspect ratio and use keywords like "minimalist," "geometric," or "abstract." Want to push the look further? Try referencing famous logo designers, like Paul Rand or Milton Glaser, and watch how MidJourney interprets their aesthetic.
Need specific text in your design? Wrap it in quotation marks, like "Imagine"
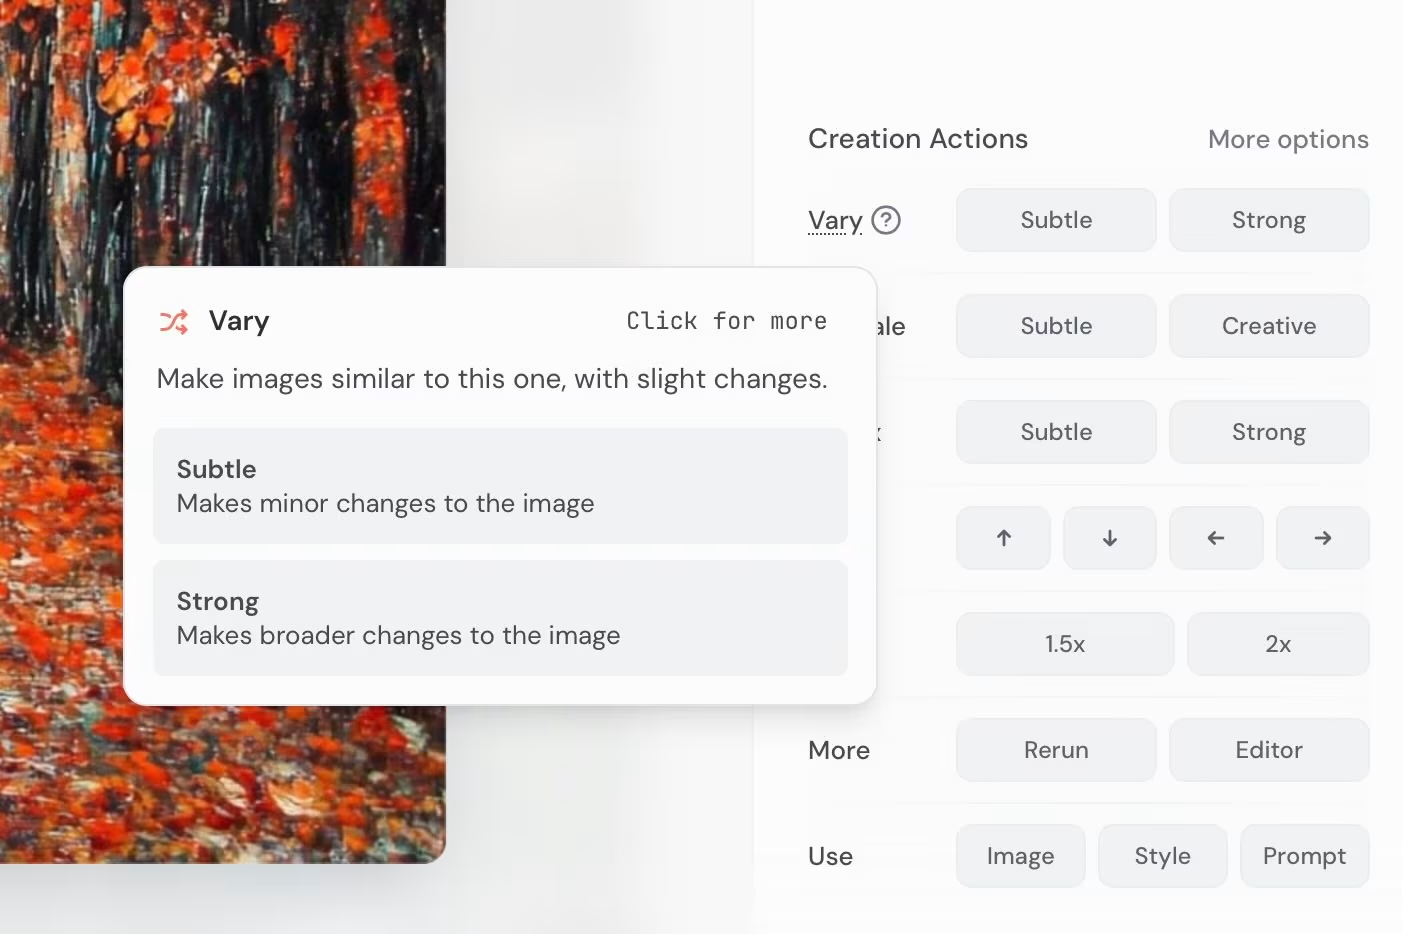
6. Taking Action on Images
Once you’ve generated something you like, it’s time to experiment. MidJourney offers subtle and strong variations to iterate on your image. Subtle keeps the vibe but tweaks the details, while strong changes the composition more boldly. You can also upscale for higher resolution (either subtle or creative), remix part of the prompt, or reframe the image by zooming out or changing the layout.
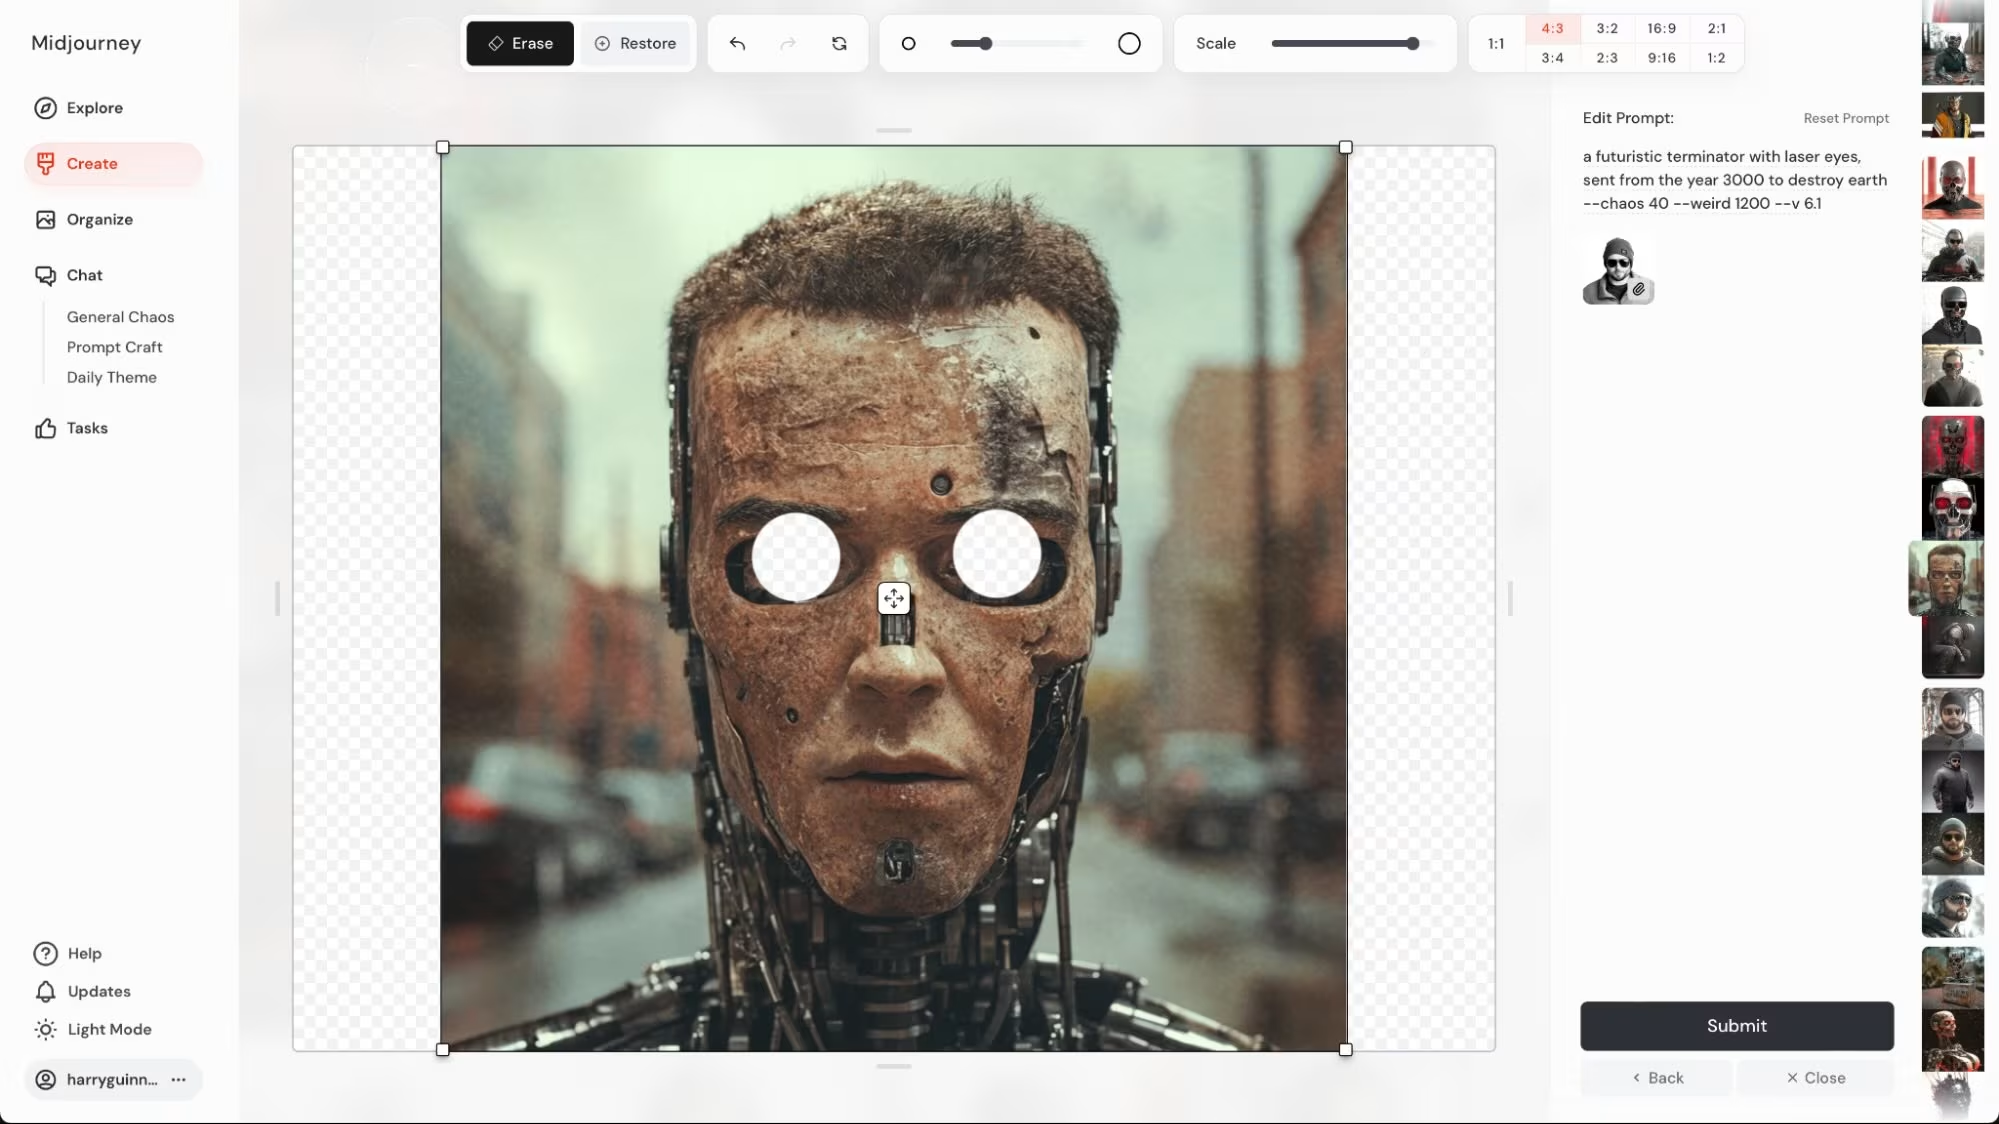
Repainting (inpainting) lets you fix or alter just part of the image. Like adjusting a face or replacing an object. This is especially useful when MidJourney gets everything right except for one small detail.
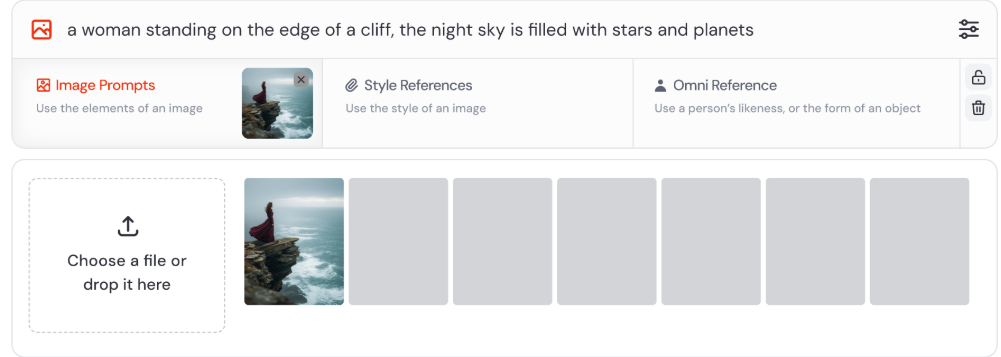
7. Referencing with Images
One of MidJourney’s most powerful features is image referencing. There are three main types:
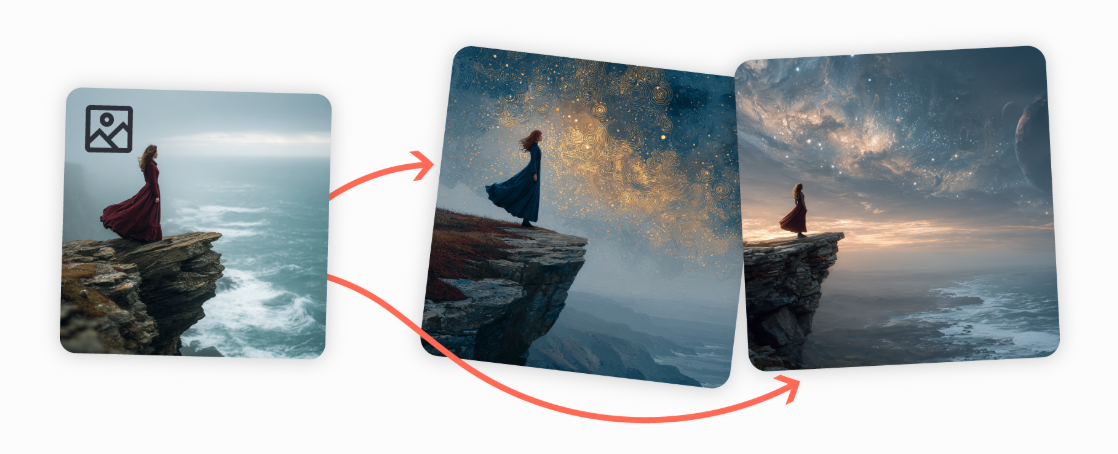
- Image Prompt: Uses the structure of the reference image: composition, objects, shapes.
- Style Reference: Pulls in color, lighting, mood. Great for controlling vibe.
- Character Reference: Matches a character’s facial structure across multiple prompts. You can even control how closely it sticks to clothing and accessories using
--cw.
You can also combine multiple image references to blend styles or characters, and even weight how much influence each one has.
8. Personalization
MidJourney’s newest feature is personalization. Once you’ve ranked at least 200 image pairs in the Tasks section, the tool learns your taste and fills in stylistic gaps with your preferences instead of the crowd’s. You can activate it with --p, or toggle it on in settings.
It’s subtle but powerful. Personalization can be combined with any prompt, style, or parameter. Want more or less of your personal flair? Use --stylize to dial the intensity up or down.
9. Advanced Features
MidJourney includes a few under-the-radar features for more niche use cases:
- Tile Mode (
--tile): Generates seamless patterns for use in wallpapers, fabrics, or web backgrounds. - Stop Parameter (
--stop): Ends the generation process early for blurrier, more painterly results. - Super Tiling: Use Vary Region to avoid repetition and add complexity to pattern-based images.
- 360° Panoramas: Combine
--tilewith a panoramic aspect ratio (e.g.,21:9) to create immersive visuals. - Multi-Prompting (V5 only): Use colons to split ideas and assign weight (e.g.,
space::2 ship::1). - Video (
--video): Only available in Discord, it creates a timelapse of your image being generated.
The Best Way to Learn Is to Create
You don’t need to be a coder or a designer. With MidJourney, all you need is curiosity and a little imagination.
Start with simple prompts. Use references. Explore the parameters. Remix, reframe, repaint. Learn the art of prompting, and let the images surprise you.
Comments ()