

AI Tools 101: Zapier Guide to Automate Tasks and Workflows
Learn how to automate your workflows with Zapier. This beginner-friendly guide shows you step-by-step how to build Zaps, use AI for email replies, and integrate apps like Gmail, Google Forms, and more.

Tired of doing the same repetitive tasks over and over? Whether it's copying data, replying to basic emails, or updating spreadsheets, Zapier can automate it all.
This guide is part of our "AI Tools 101" series: practical, step-by-step introductions to the best AI tools online. Today’s feature is Zapier, a no-code automation platform that connects 7,000+ apps so they work together, without you lifting a finger.
By the end of this blog, you’ll know how to:
- Build your first Zap using Zapier's AI assistant
- Automate emails and forms with tools like Gmail and Google Forms
- Personalize responses with Formatter and AI-generated text
- Use advanced Zapier features like Filters, Paths, and Loops
- Explore apps like Interfaces, Tables, and Transfer for structured automation
Let’s dive in.
What is Zapier (and What is a Zap)?
Zapier is a no-code automation tool that connects over 7,000 apps, such as Gmail, Slack, HubSpot, Google Sheets, Notion, and more.
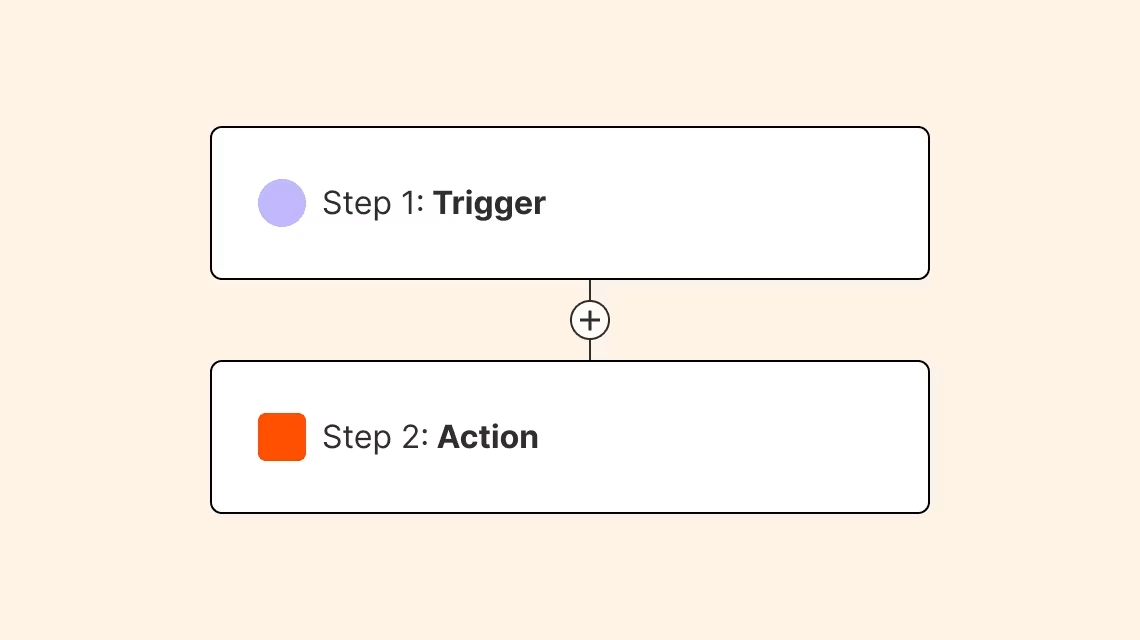
A Zap is an automated workflow made of two parts:
- Trigger: The event that starts the workflow (e.g., a new form submission)
- Action: What happens as a result (e.g., send an email)
Step 1: Sign Up for a Free Zapier Account
Go to zapier.com and create a free account. The free plan includes core features and access to most app integrations. Paid plans unlock additional features like multi-step Zaps, filters, paths, and premium apps.
Once you're in, you’ll land on your Zapier dashboard, your command center for automation.
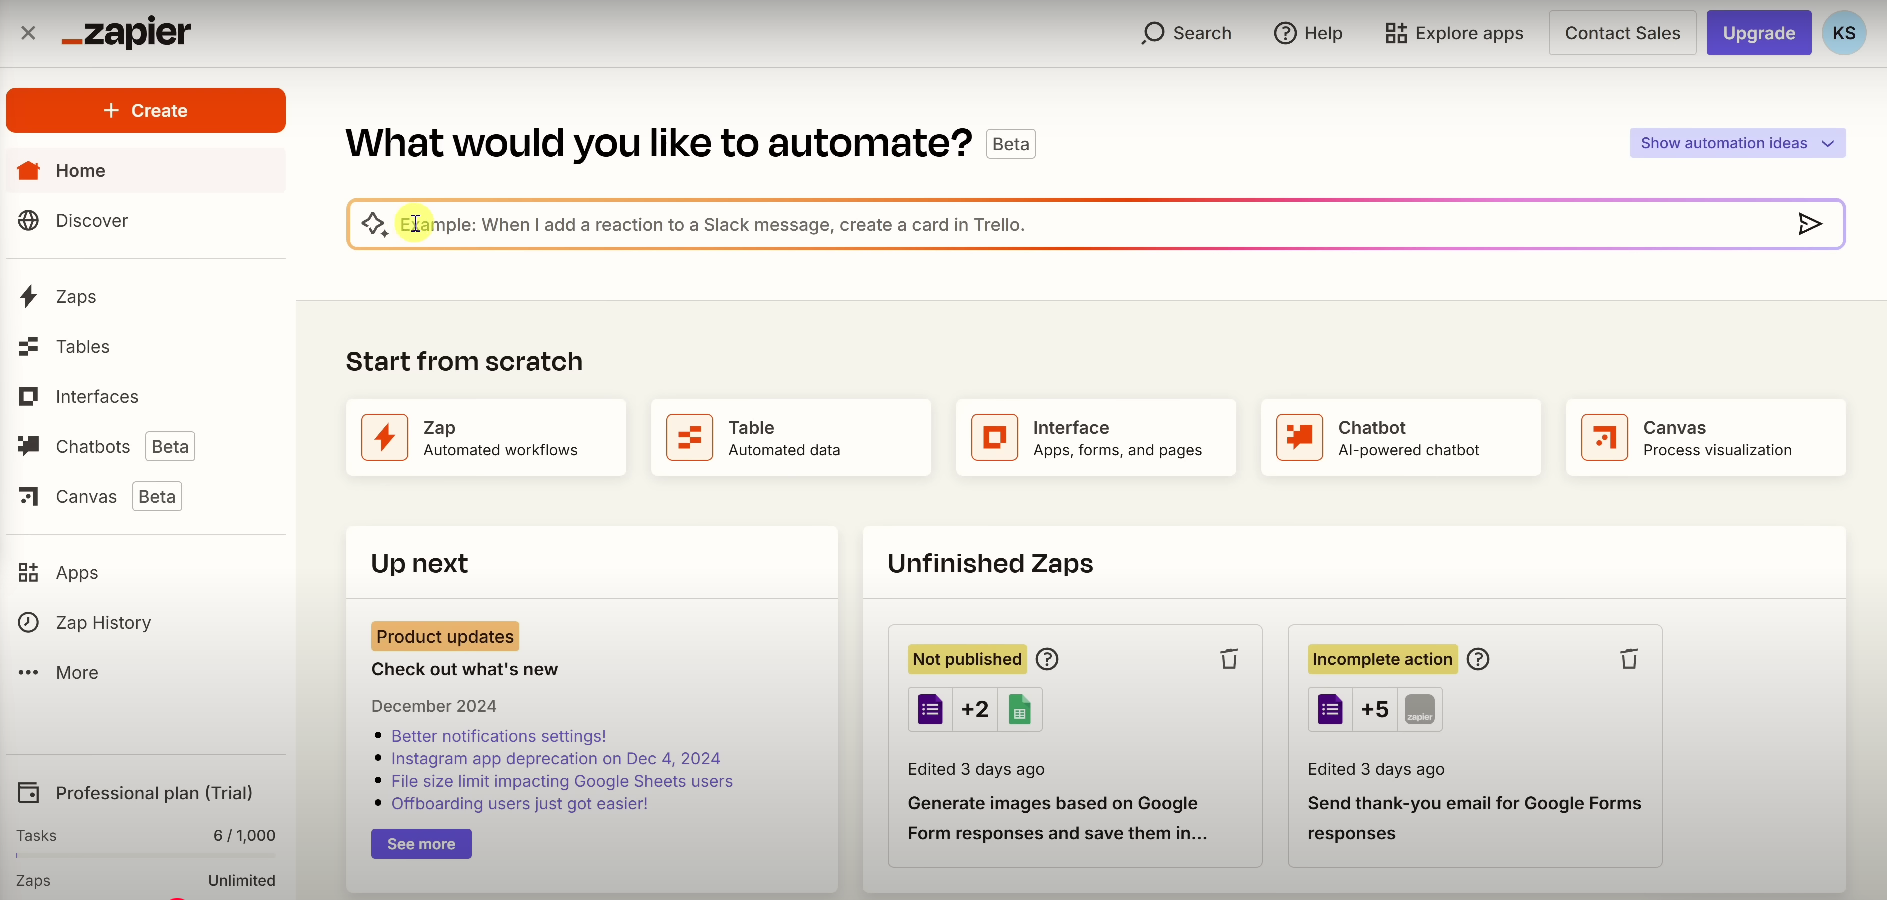
Step 2: Start With AI (Describe Your Workflow in Plain English)
At the top of the dashboard is a prompt field that reads: “Describe what you want to automate.”
This is Zapier’s AI assistant. Just type what you want in plain language. For example:
“When someone fills out a form on Google Forms, send them a thank-you email using Gmail.”
The AI will suggest a Zap based on your request. You can edit it from there.
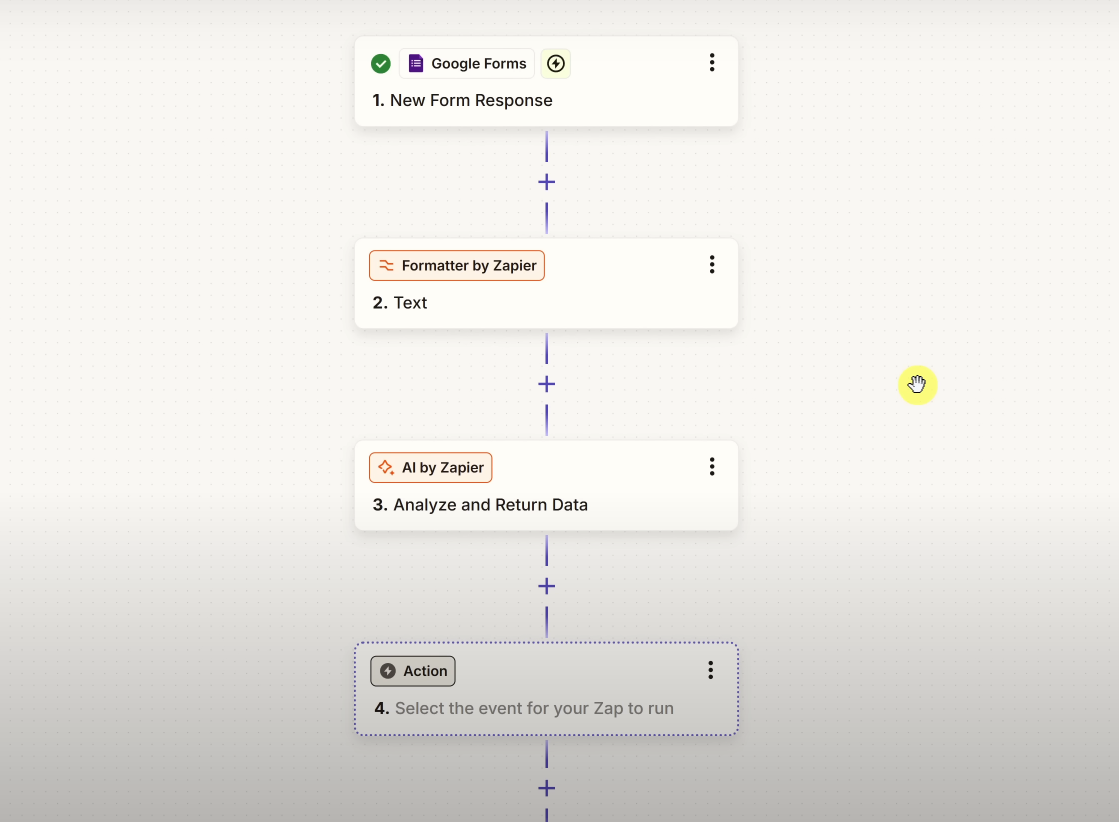
Step 3: Understand the Zap Structure (Trigger + Action)
Zapier visually displays your Zap in a canvas format. Every workflow includes:
- Trigger: Starts the automation
- Action: Follows the trigger
Zapier lets you add multiple steps later (like filters, AI actions, and custom logic).
Step 4: Set Up Your Trigger (Example: Google Forms)
Click the trigger block in your Zap. Connect your Google account, then choose the specific form you want to use (e.g., “Customer Feedback Form”).
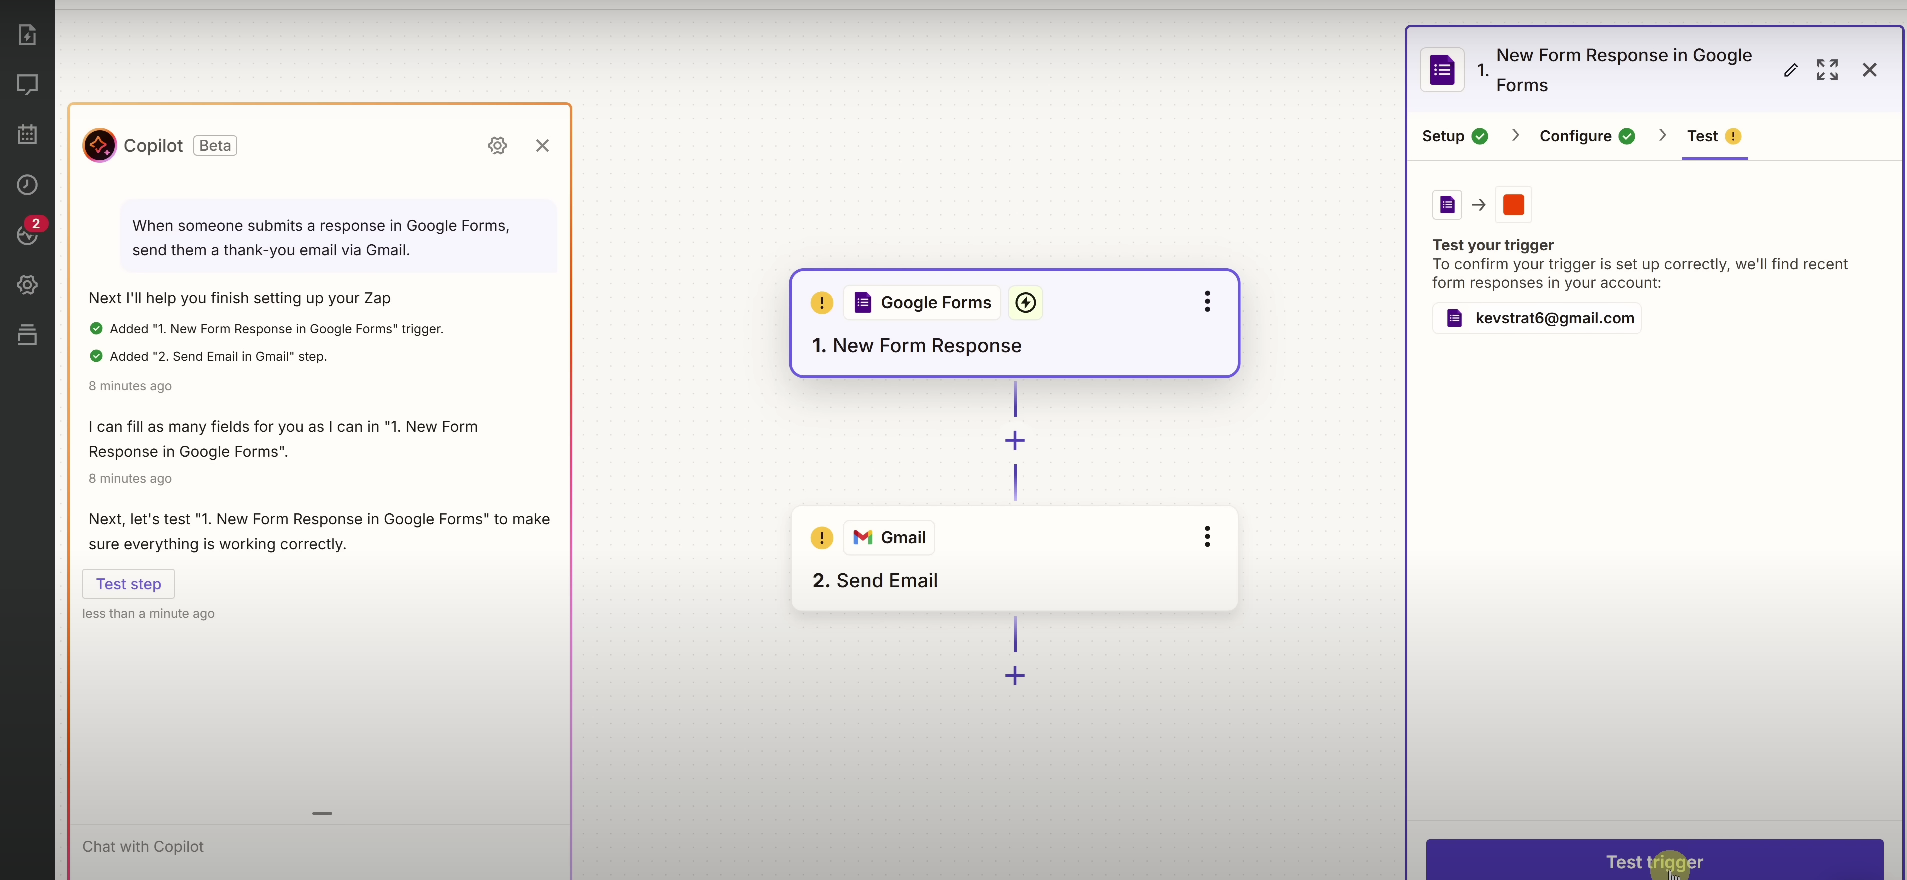
Test this step to ensure Zapier pulls in sample data. You’ll use this to personalize your next step. Remember, A trigger kicks off your Zap. It’s the “when” of your workflow. Once you enter the Zap editor, Zapier will prompt you to choose a trigger app to get started.
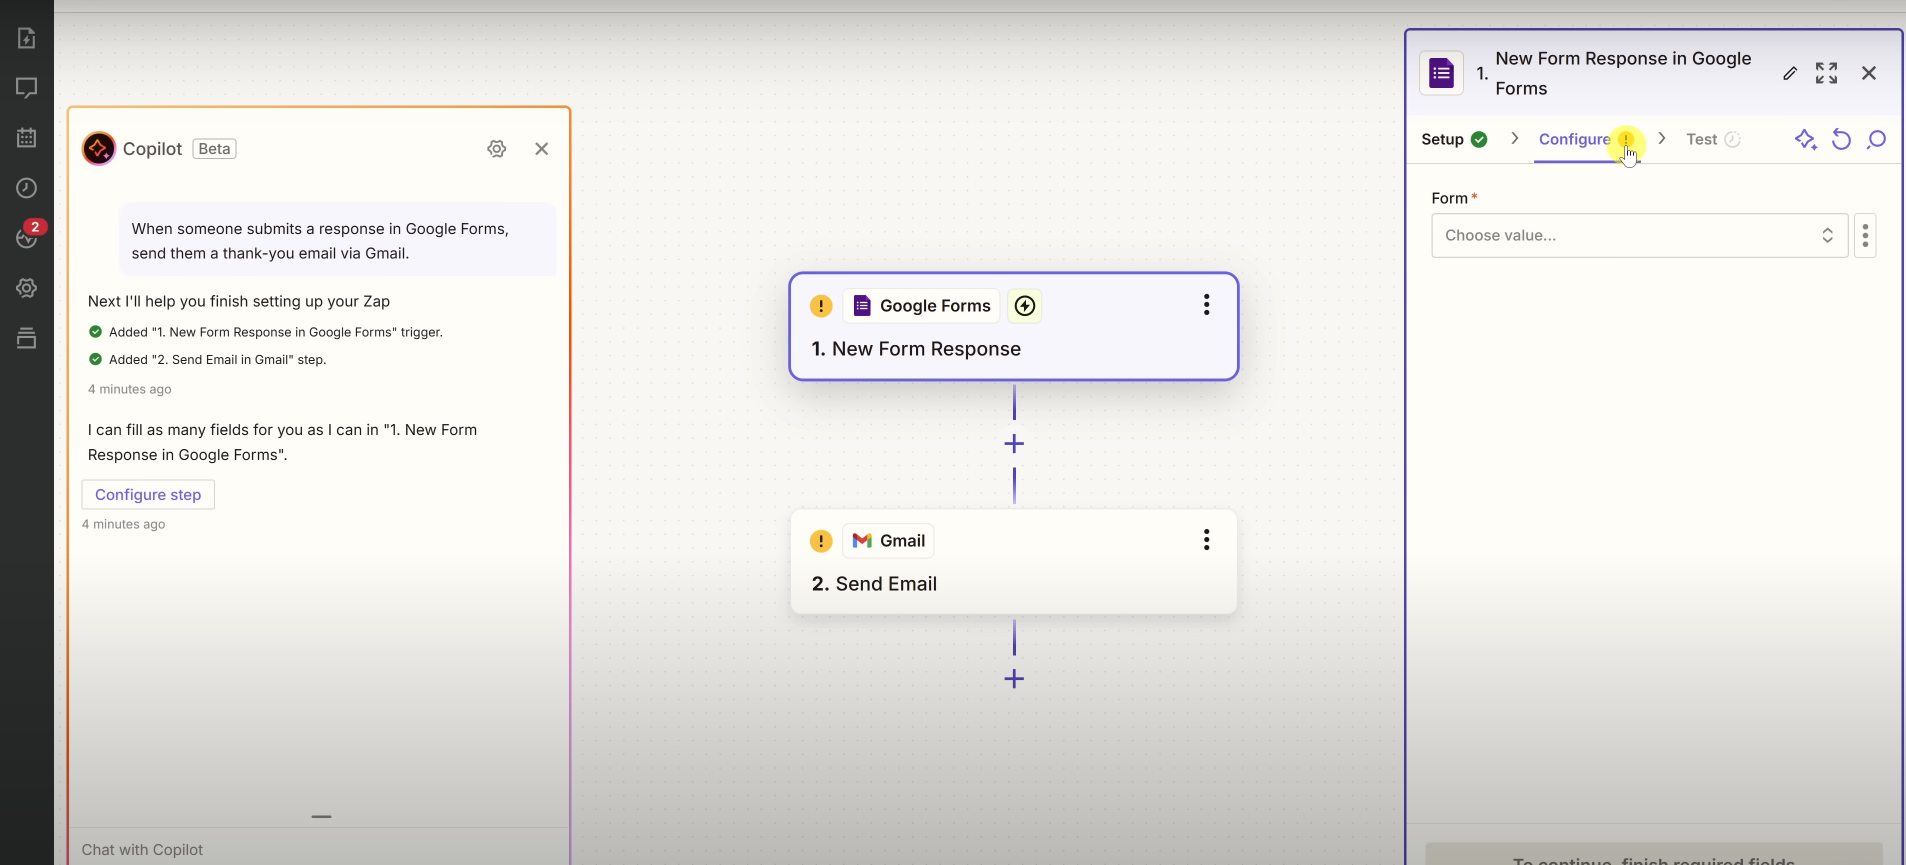
Click Test Trigger to check if Zapier is receiving data correctly. Once the trigger is set up, the yellow ⚠️ icon on your trigger will turn into a green ✅. That means you’ve successfully configured it.
If you get stuck, use Copilot on the left side of the screen. It’s Zapier’s built-in AI helper. Just type what you need help with, and it’ll guide you step-by-step.
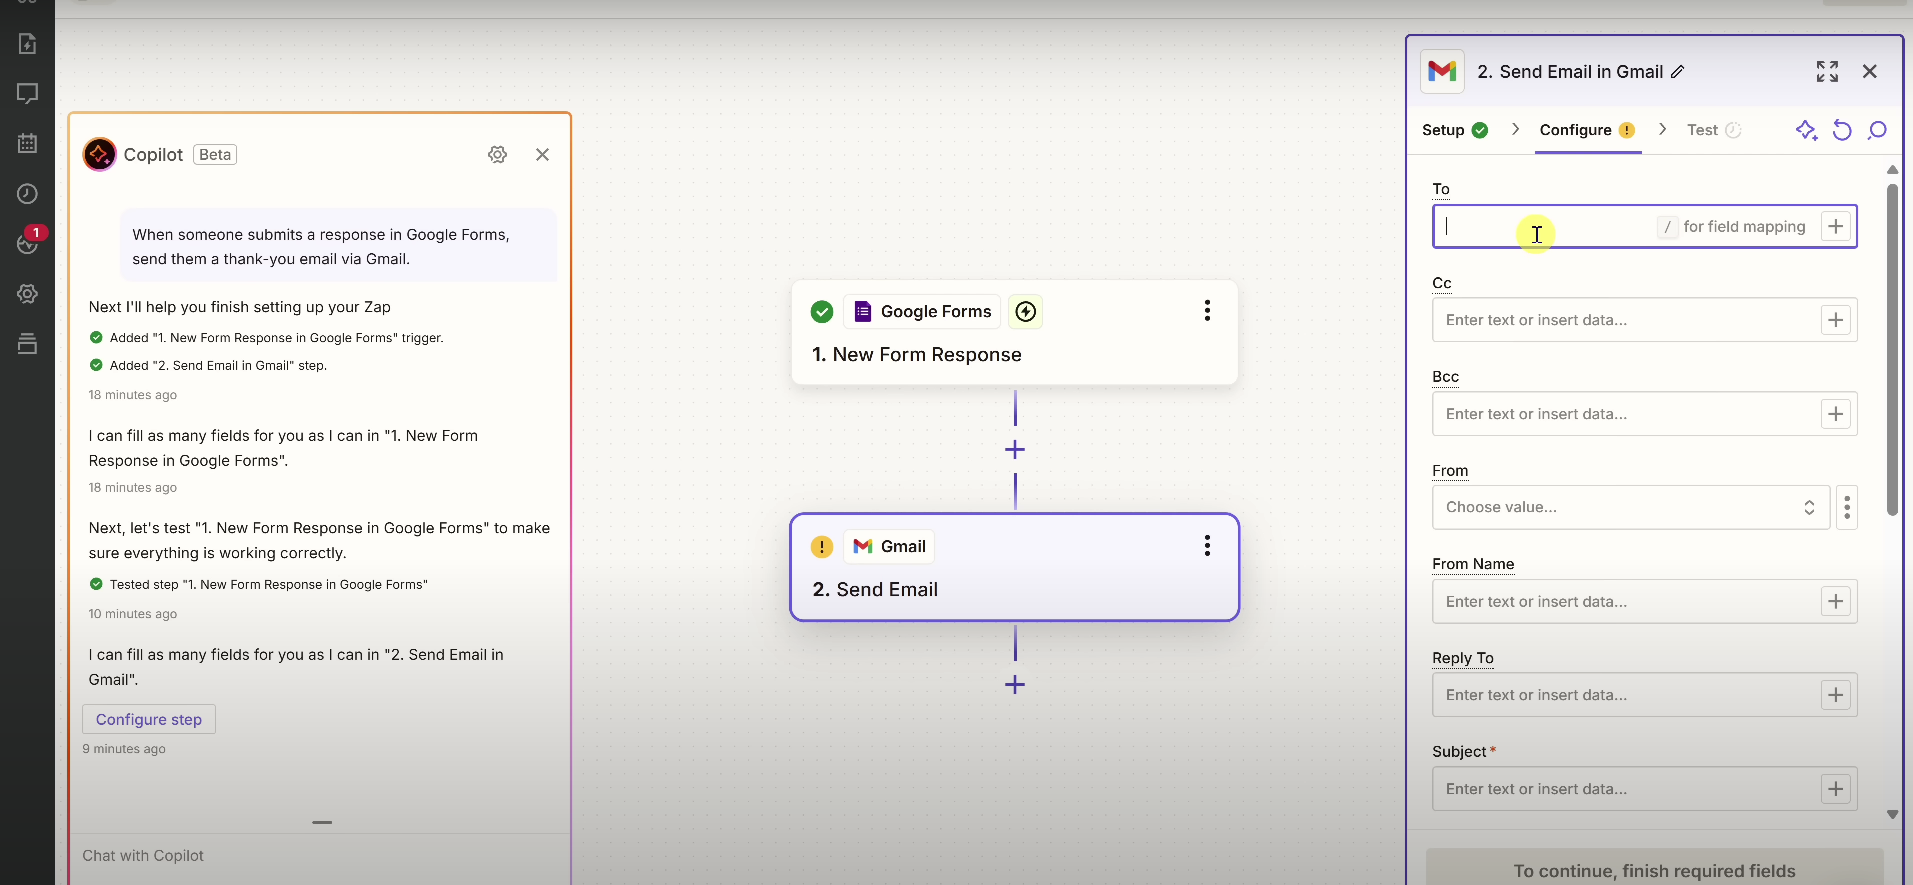
Step 5: Set Up the Action (Example: Gmail Reply)
Now configure your action block. Connect Gmail, then set up the following fields:
- To: Use a dynamic field (press
/) to send the email to the form submitter - From: Your Gmail address
- Subject: Something like “Thanks for your feedback!”
- Body: Insert personalized values from the form (like name or message)
Example:
Hi {{First Name}},

Thanks for your feedback:
“{{Their Response}}”

We appreciate you taking the time!
Step 6: Test and Publish Your Zap
Once everything’s configured, run a final test.
Next, click Publish. A prompt will appear confirming your Zap is turned on and live. Your automation is now running in the background, no extra effort needed.
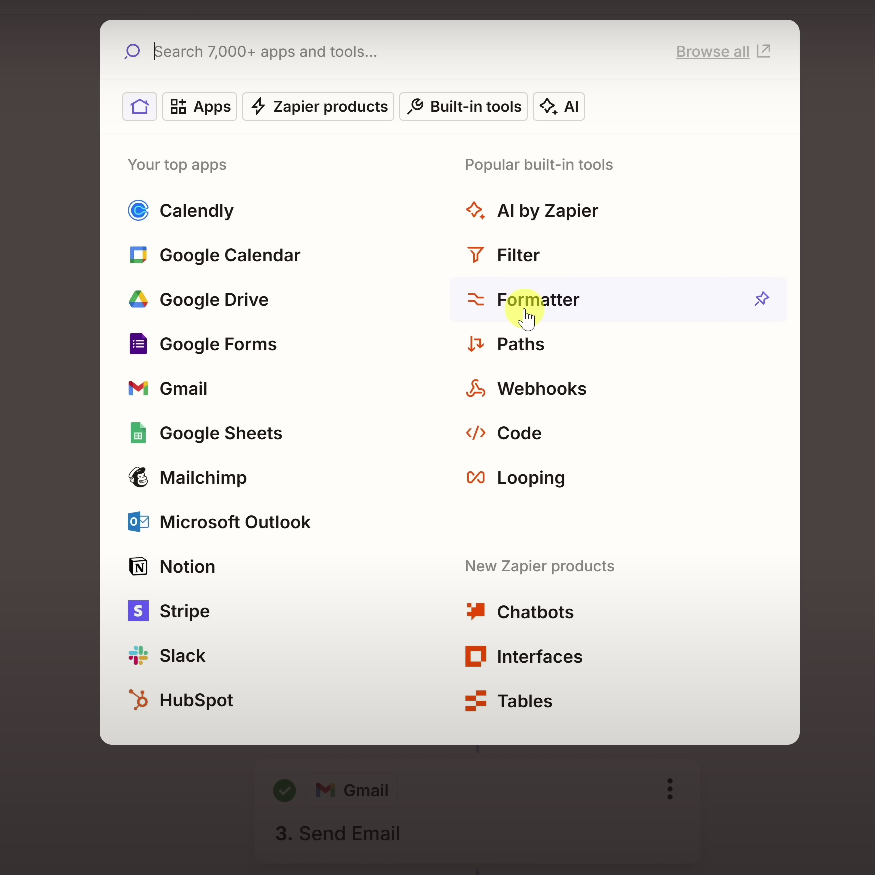
Step 7: Clean Up Names with Formatter by Zapier
If your form collects full names, you might want to greet users by their first name only. Here’s how:
- Add a new Formatter step by clicking the plus sign
- Choose Text → Split Text
- Use space as the separator
This will return just the first name, which you can use dynamically in emails.
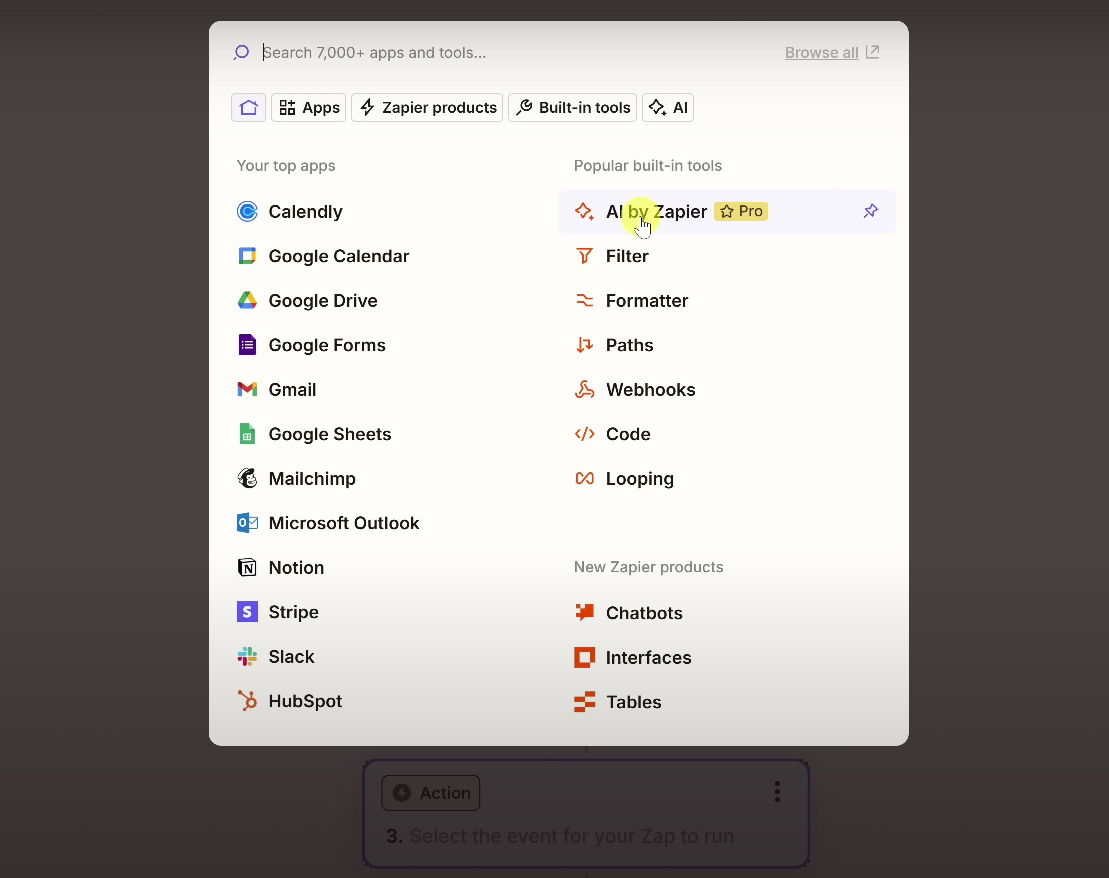
Step 8: Use AI to Auto-Generate Email Responses
Next, use AI by Zapier to write personalized replies to customer feedback, automatically.
Here’s how:
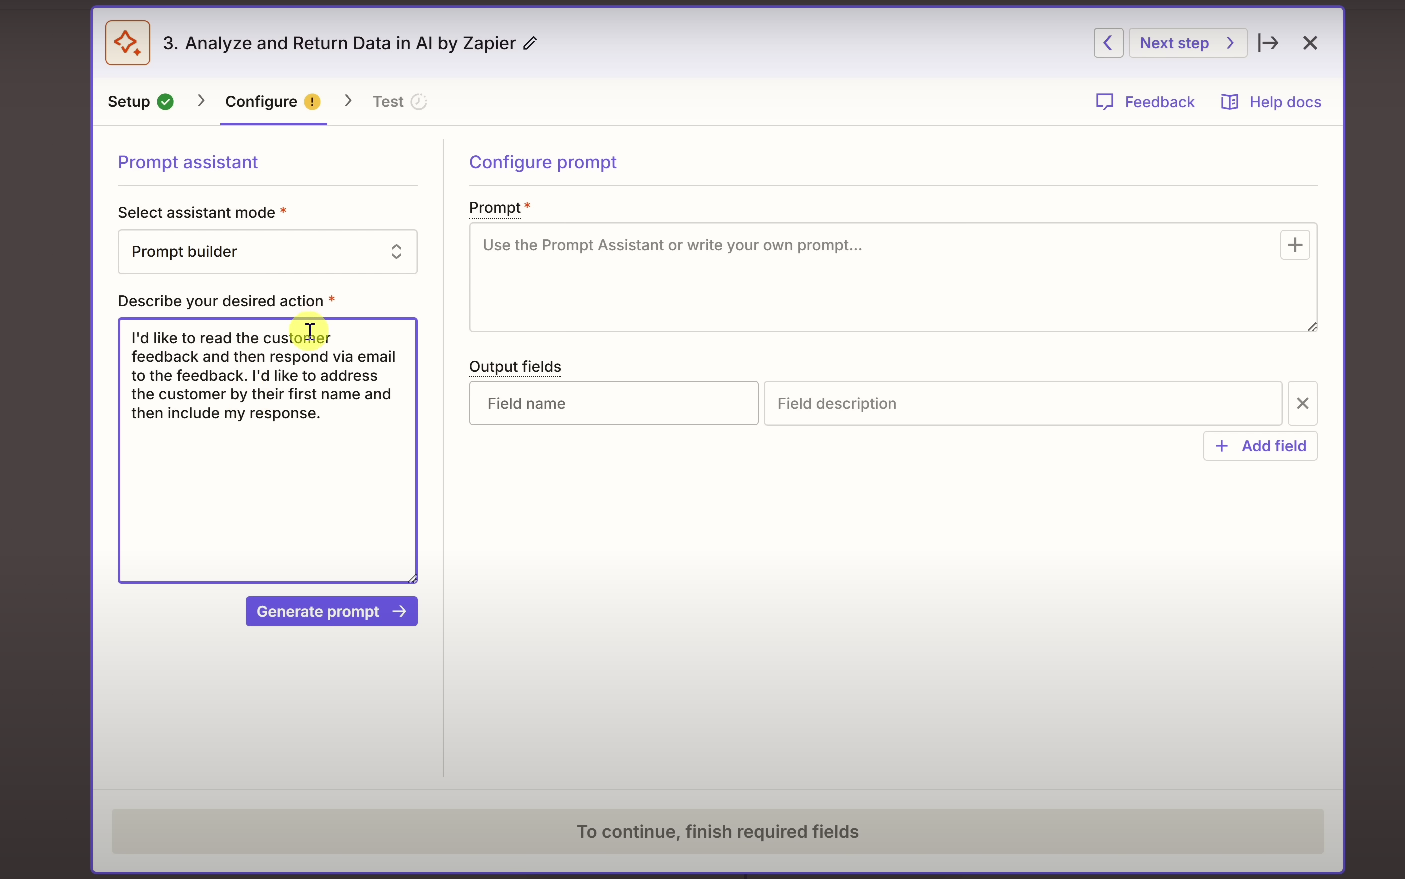
- Add a new step: AI by Zapier → Prompt Assistant
- Under “Select assistant mode,” choose Prompt Builder
- Click Generate Prompt
Zapier will create a full prompt and allow you to define dynamic fields (like name and message) to pull in from previous steps.
In the “Describe your desired action” field, write something like:
“I'd like to read the customer feedback and then respond via email. I'd like to address the customer by their first name and then include my response.”
This turns your customer’s feedback into smart, friendly email responses, without manual effort.
Step 9: Insert the AI Output into Your Email
Go back to your Gmail action step. In the body field:
- Press
/and choose the AI-generated output - Replace the old manual message with the dynamic one
Now every response will be personalized, without you lifting a finger.
Step 10: Test, Name, and Publish Your Zap
Click Test to check every step. Make sure data flows smoothly from trigger to action.
Once ready:
- Click Publish in the top right
- Name your Zap (e.g., “Auto Thank You Emails”)
- Set it to run on new submissions only (or apply it to past data if you like)
Done! Your first workflow is live.
Optional: Browse and Customize Pre-Built Templates
From your dashboard, scroll to “Browse All Templates.” You’ll find Zaps like:
- Add Facebook leads to Google Sheets
- Get Slack alerts when you receive payments on Stripe
- Send calendar invites when you create new Notion entries
Click a template to auto-fill a Zap. Adjust the fields to fit your setup.
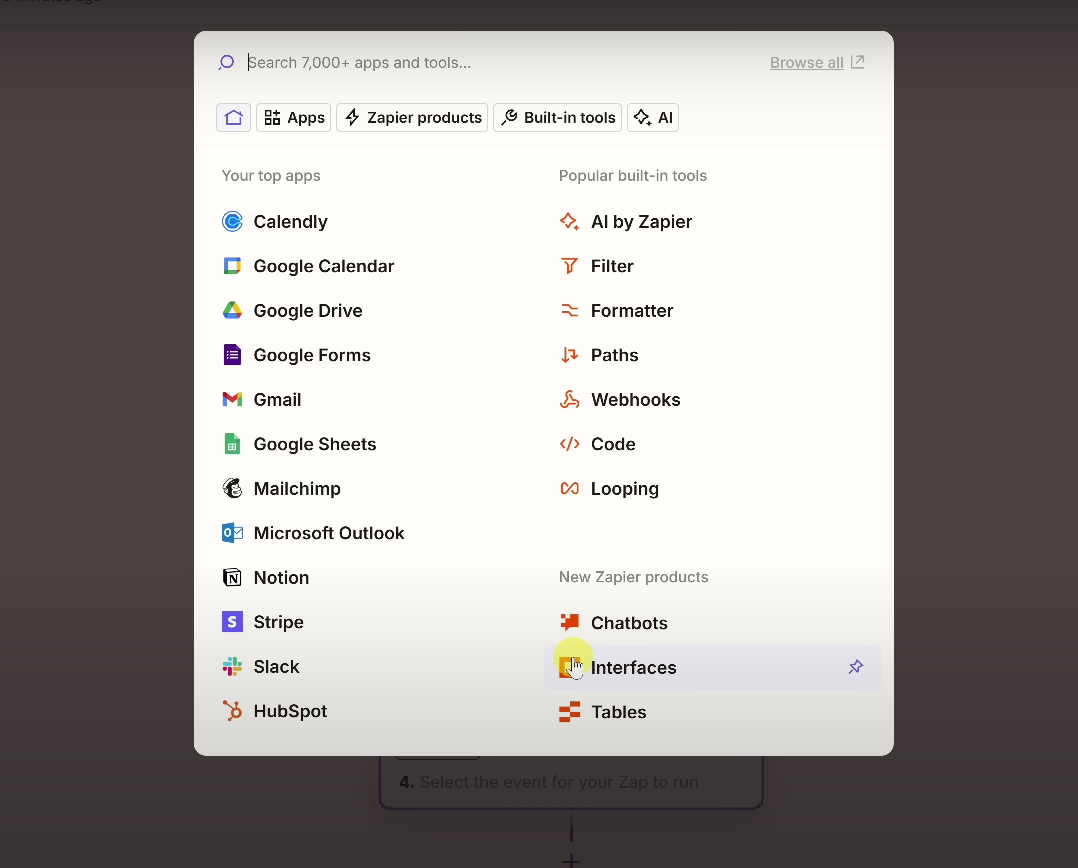
Bonus Tools: Interfaces, Tables, and Transfer
Beyond Zaps, Zapier also offers powerful no-code tools:
- Interfaces: Build simple web apps and forms that connect to your Zaps
- Tables: Store structured data (like a mini-database) directly inside Zapier
- Transfer: Move large volumes of data between apps in one go
- Chatbots: Build AI-powered chatbots that can trigger Zaps, collect inputs, and automate workflows in real time
These tools work alongside Zaps to support more complex use cases.
Power Features to Explore Later
When you’re ready, try these advanced Zapier features:
- Paths: Add conditional logic (if X, then Y)
- Filters: Only run Zaps when conditions are met
- Webhooks: Connect external APIs
- Loops: Repeat actions for multiple items
- Multi-step Zaps: Chain more than two actions together
You Don’t Need to Be a Developer to Automate
Zapier takes the busywork off your plate. Automate the repetitive tasks that steal your time. You don’t need to code. You don’t need to hire help. Just describe what you want and Zapier does the rest.
Start small. Automate one workflow. Then build more. Productivity stacks.


Comments ()